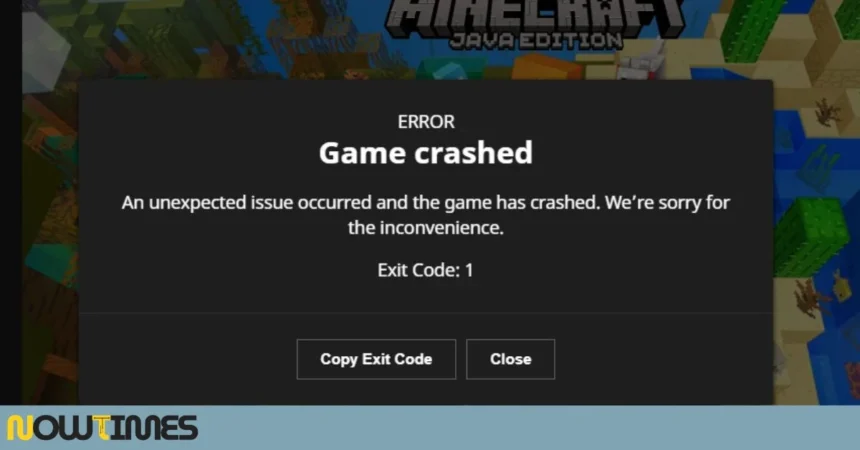


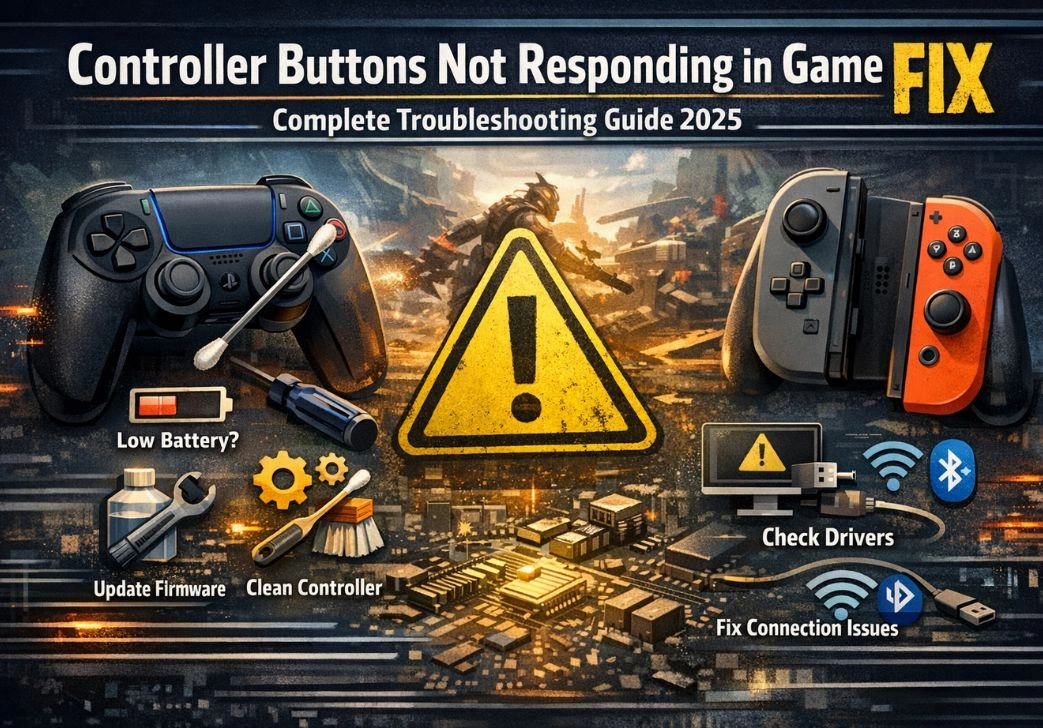
Nothing kills the fun of gaming quite like a controller that stops cooperating. You press a button, nothing happens. You try again — still nothing. Maybe it’s just one button, maybe it’s half the controller. Either way, the frustration is real, and it usually hits at the worst possible moment — mid-boss fight, deep in a competitive match, or right when your friend is watching.
The good news? In most cases, when you run into the problem of controller buttons not responding in game, fix solutions are available — and many of them take less than five minutes. This guide walks you through everything, from the quick fixes you can try right now, to deeper hardware-level solutions if the problem turns out to be more serious.
We cover PlayStation, Xbox, Nintendo Switch, and third-party controllers across PC, console, and mobile platforms. So no matter what you play on, this guide has something useful for you.
Why Do Controller Buttons Stop Responding in the First Place?
Before jumping into fixes, it helps to understand what usually causes this issue. Controllers are surprisingly complex little devices — they combine wireless communication hardware, firmware, physical contact points, and software drivers all working together. Any one of those layers can develop a problem.
The most common causes include worn-out or dirty button contacts, outdated or corrupted firmware, wireless interference or Bluetooth pairing issues, incorrect in-game controller settings, and USB connectivity problems for wired controllers. On PC, outdated or conflicting drivers are also a frequent culprit. On mobile, app permissions and OS-level settings can block controller input altogether.
Start With the Basics: Quick Checks Before You Go Deep
It sounds obvious, but a huge number of controller issues come down to something simple that gets overlooked in the heat of frustration. Run through these first before spending time on more involved troubleshooting.
Check the Battery Level
A low battery doesn’t always kill the entire controller — sometimes it just makes certain buttons unreliable or unresponsive. Check the battery indicator on your console or in-game HUD. If it’s low or unknown, charge the controller fully before testing further.
Restart the Game and Console
A full restart — not just putting the console in rest mode — clears temporary memory and fixes software glitches that can block controller input. Hold the power button until the system fully shuts down, wait 30 seconds, and then boot it back up. You’d be surprised how often this alone solves the problem.

Test in a Different Game or Application
If your buttons work fine in one game but not another, the issue is almost certainly with that specific game’s settings — not the hardware. Check the in-game controller configuration menu for that title.
Fixing Wireless Connection Problems
Wireless controllers add a layer of connectivity that can cause input issues even when the hardware itself is perfectly fine. These fixes address Bluetooth and RF signal problems.
Re-Pair the Controller
A corrupted or unstable pairing is one of the most common reasons for partial button failure. On PlayStation, go to Settings > Accessories and forget the controller, then re-pair it fresh. On Xbox, hold the pairing button on both the console and controller until they sync. For Nintendo Switch, go to System Settings > Controllers and Sensors > Disconnect Controllers and then reconnect.
Reduce Wireless Interference
Bluetooth operates on the 2.4 GHz band, which is the same band used by Wi-Fi routers, microwaves, baby monitors, and many other devices. If you have several wireless devices nearby, they can interfere with controller signal. Try moving your router away from the console, switching your Wi-Fi to 5 GHz if possible, and testing the controller from a shorter distance.
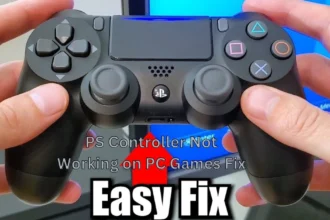
Controller Buttons Not Working on PC: Platform-Specific Fixes
PC gaming adds several extra layers of potential issues because of how Windows handles controller input. When dealing with controller buttons not responding in game, fix steps for PCs tend to involve driver management and software configuration.
Update or Reinstall the Controller Driver
Open Device Manager (right-click the Start button), find your controller under Human Interface Devices or Sound, video, and game controllers. Right-click and select the Update driver. If that doesn’t help, uninstall the driver entirely, unplug the controller, then plug it back in to let Windows reinstall it fresh.
Use Steam’s Controller Configuration
Steam has a built-in controller API that can override the game’s own input system. Go to Steam > Settings > Controller and make sure the correct controller type is detected. Within Big Picture Mode, you can remap individual buttons and test whether each one registers correctly. If a button shows no input in Steam’s test tool, it’s a hardware issue. If it shows in Steam but not in-game, it’s a software mapping issue.
Check for Conflicting Software
Applications like DS4Windows, Xpadder, reWASD, or even some antivirus programs can intercept or block controller input. Try closing background apps one at a time while testing your controller. If the buttons start responding after closing a specific app, that’s your culprit. Add the game as an exception or configure the conflicting software to stay out of the way.
Update the Controller Firmware
Controller manufacturers regularly push firmware updates that fix bugs, improve button response accuracy, and patch connectivity issues. Running an outdated firmware version is a surprisingly common cause of buttons behaving inconsistently.
For PlayStation DualSense and DualShock 4 controllers, firmware updates come through the console automatically when you connect and are online. For Xbox controllers, open the Xbox Accessories app on console or PC and check for an update under device information. Nintendo Switch controllers update when the console runs its own system update.
For third-party controllers, check the manufacturer’s website or dedicated software like the 8BitDo Ultimate Software or SCUF Gaming Companion app, depending on your brand.
Check In-Game Controller Settings and Mappings
One area that often gets overlooked: the game itself may have remapped or disabled certain buttons without you realizing it. This can happen after an update, when loading a preset profile, or if someone else used a different control layout.
Go into the game’s Options or Settings menu and look for Controller, Input, or Key Bindings. Check whether the buttons you expect to work have been mapped to something — if a button shows as unassigned or mapped to a duplicate function, that explains the problem. Most games also allow you to reset to default controls, which is worth trying if the layout looks unfamiliar.
Also check dead zone settings. Some games with configurable dead zones can make a stick or trigger feel completely dead if the threshold is set too high. Reducing the dead zone in settings often restores normal response.
Hardware Fixes: When the Problem Is Physical
If you have tried all the software-side fixes and buttons are still unresponsive, the problem is likely physical. Here are the most practical hardware-level steps, from least to most invasive.
Clean the Buttons
Debris, sweat, and oils from your hands build up around and under buttons over time, creating a layer that prevents full contact with the underlying circuit. Use a cotton swab lightly dampened with isopropyl alcohol (90% or higher) to clean around each button. Press the button down and work the swab around the edges. Let it dry fully before testing.
Check the USB Cable (Wired Controllers)
For wired controllers, the cable itself can develop internal breaks that aren’t visible from the outside. Try a different USB cable — ideally a data cable, not just a charging cable. Also try a different USB port on your console or PC to rule out a port issue.
Hard Reset the Controller
Most controllers have a small reset pinhole on the back. Use a toothpick or SIM ejector pin to press and hold it for five seconds, then reconnect the controller to your console. This wipes any stored pairing data and reboots the controller’s internal state. It is one of the most underused fixes and often resolves persistent issues that nothing else seems to touch.
Inspect for Physical Damage
If the controller has been dropped, sat on, or exposed to liquid, the internal membrane or contact pad under the affected buttons may be torn or corroded. You can find replacement membrane kits online for most popular controllers for under ten dollars. Opening a controller takes about twenty minutes with the right screwdrivers and a steady hand — many YouTube videos cover this step by step for specific models.
Console-Specific Troubleshooting Tips
PlayStation 4 and 5
On PS4 and PS5, go to Settings > Accessories > Controllers and check that button assignment and vibration settings are correct. The DualSense has a built-in test mode accessible through the PlayStation support website’s controller test tool — you can check every button from your browser while connected via USB.
Xbox Series X/S and Xbox One
On Xbox, the Xbox Accessories app provides detailed mapping, firmware check, and button test features. You can reassign any button and create custom profiles per game. If you are on Xbox One and experiencing input lag along with missed button presses, try switching from wireless to a USB connection to rule out wireless interference.
Nintendo Switch
Joy-Con button issues are often related to the rail connection. Detach and reattach the Joy-Con firmly. Go to System Settings > Controllers and Sensors > Test Input Devices to check each button. Nintendo has a free repair service for Joy-Con drift and button issues if your console is within the warranty period.
When Nothing Works: Next Steps
If you have gone through every fix in this guide and buttons are still not responding, there are a few remaining options worth considering.
- Contact the manufacturer’s support: Sony, Microsoft, and Nintendo all have dedicated controller support lines. Many issues qualify for a replacement or repair even outside the standard warranty.
- Visit a repair shop: Local electronics repair shops can often replace individual buttons or membranes at low cost — sometimes cheaper than buying a new controller.
- Consider a replacement: If the controller is old and well-used, the cumulative wear on the rubber domes and conductive coating may simply be past the point of economical repair. A new controller is sometimes the most practical solution.
How to Prevent Controller Button Issues in the Future
Taking a little care of your controllers can significantly extend their lifespan and keep buttons responsive for years. Here are a few habits worth building.
- Wash your hands before gaming or use a controller grip to reduce oil and sweat buildup on buttons.
- Keep controllers in a case or on a stand when not in use to avoid dust accumulation and accidental damage.
- Perform a light cleaning with a dry cloth every month, and a deeper isopropyl alcohol clean every few months depending on usage.
- Keep firmware updated — manufacturers release patches regularly that improve button performance and connectivity stability.
- Avoid eating while gaming. Crumbs that fall into button gaps are one of the leading causes of sticky or unresponsive buttons.
Frequently Asked Questions
Q1: Why are my controller buttons not responding only in one specific game?
This is almost always a game-specific settings or mapping issue. That particular game may have the button unmapped, reassigned to a duplicate function, or blocked by a dead zone setting. Open the game’s controller/input settings and reset to defaults. If the game received a recent update, the update may have changed default control schemes.
Q2: Can a low battery cause controller buttons not to respond?
Yes, and this is more common than people realize. When battery power drops below a critical threshold, the controller may struggle to send complete input signals. You might notice specific buttons stopping before others. Charge the controller to 100% and test again before pursuing any other fix.
Q3: How do I know if my controller buttons need physical replacement?
If a button does not register in any game, passes no input in Steam’s controller test tool or your console’s button test screen, and the problem persists after a firmware update and hard reset, the button’s rubber dome or conductive pad underneath is likely worn out or damaged. Physical replacement is usually the only lasting fix at that point.
Q4: What should I do if my controller worked fine yesterday but buttons stop responding today?
A sudden change usually points to a software issue rather than hardware failure. Check if there was a console system update or game patch overnight. Roll back the change if possible, or check for a follow-up patch. Also try a full system restart and re-pairing the controller. If you added any new software or updated a driver, that could be the cause.
Q5: Is it worth repairing a controller or should I just buy a new one?
That depends on the controller’s age and what is wrong. If it is under warranty, always contact the manufacturer first. If the issue is dirty contacts or worn rubber domes, a DIY repair costs under $15 and about thirty minutes of your time. If the main circuit board is damaged, a repair shop quote might exceed the cost of a new controller — at which point replacement makes more financial sense.
Q6: Do third-party controllers have the same fix options as official ones?
Most software-side fixes — driver updates, pairing, dead zone adjustment — apply the same way. The main difference is that third-party controllers often require manufacturer-specific software for firmware updates and advanced remapping. Check the brand’s website for their companion app. Physical repairs are also possible but spare parts are harder to find for less common brands.
Final Thoughts
Dealing with unresponsive controller buttons is annoying, but it is rarely a dead end. The vast majority of cases come down to one of a handful of fixable problems — a low battery, a pairing hiccup, an outdated driver, a game setting that got changed, or some accumulated grime under a button cap. Working through the troubleshooting steps in order, starting simple and moving toward hardware only if needed, resolves the problem for most people without spending a single dollar.
The next time your buttons go silent on you, remember: patience and a systematic approach will serve you better than frustration. Run through the checklist, and you’ll be back in the game before long.