


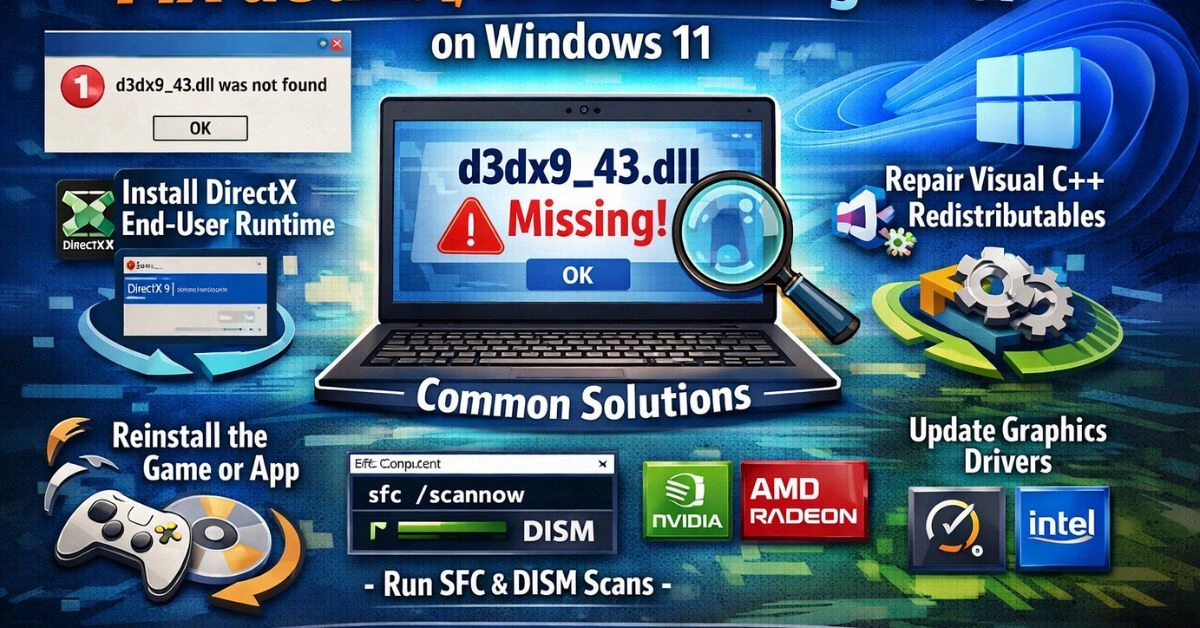
If you’ve ever tried to open a game or an older application on Windows 11 and been slapped with a pop-up that says something like “d3dx9_43.dll was not found” or “The program can’t start because d3dx9_43.dll is missing from your computer” — you know how frustrating that moment feels. The game won’t load, the program crashes, and you’re left staring at an error message that makes no sense.
The good news? This is one of the most common and most fixable Windows errors out there. You don’t need to be a tech expert. You just need to follow the right steps in the right order. This guide walks you through everything — what the error means, why it happens on Windows 11 specifically, and how to get rid of it for good.
What Is d3dx9_43.dll and Why Does It Matter?
Before jumping into the fixes, it helps to understand what this file actually is. The d3dx9_43.dll file is part of Microsoft’s DirectX 9 runtime — a collection of software components that allow applications, especially games and multimedia programs, to communicate with your computer’s graphics and audio hardware.
The “43” in the filename refers to a specific version of the DirectX 9 component. Many older games — titles from the mid-2000s up through the early 2010s — were built specifically with DirectX 9 in mind. When they launch, they look for this exact file. If it’s missing, corrupted, or in the wrong location, the app simply refuses to start.
Windows 11 ships with DirectX 12, which is newer and more capable — but it doesn’t automatically include all the older DirectX 9 components. That’s the root cause of the problem for most Windows 11 users. It’s not a virus, it’s not a hardware fault, and it’s not something you caused. It’s simply a missing legacy file.
Common Reasons This Error Appears on Windows 11
There are several reasons you might encounter this error:
- DirectX 9 components are not installed on your Windows 11 system
- A previous game installation failed or was interrupted, leaving the file incomplete
- The DLL file was accidentally deleted or quarantined by antivirus software
- System files became corrupted due to a bad Windows update or hard drive issue
- Visual C++ Redistributable packages are missing or outdated
- The DLL file was moved out of its default folder by mistake
Fix 1: Install the DirectX End-User Runtime Web Installer
This is the most reliable and recommended fix. Microsoft provides a free tool called the DirectX End-User Runtime Web Installer, which installs all legacy DirectX components — including d3dx9_43.dll — onto your system.
Here’s exactly how to do it:


- Open your browser and go to the official Microsoft Download Center.
- Search for “DirectX End-User Runtime Web Installer” and download it.
- Run the installer (dxwebsetup.exe) as Administrator.
- Accept the license agreement and follow the on-screen prompts.
- Once the installation completes, restart your computer.
- Try launching the game or application again.
This single step resolves the error for the majority of users. The installer is small, fast, and completely safe — it’s pulled directly from Microsoft’s servers.
Fix 2: Install or Repair Visual C++ Redistributable Packages
Some games and applications depend on Visual C++ Redistributable packages to function correctly alongside DirectX components. If these packages are missing or corrupted, you may still see DLL errors even after reinstalling DirectX.
To fix this:
7. Press Windows + I to open Settings, then go to Apps > Installed Apps.
8. Search for “Microsoft Visual C++” in the list.
9. If you see multiple versions listed, that’s normal. Click each one and choose Modify > Repair.
10. If they’re not installed at all, go to Microsoft’s website and download the Visual C++ Redistributable packages for 2010, 2012, 2013, 2015, 2017, 2019, and 2022 (both x64 and x86 versions).
11. Restart your PC after installation.
Fix 3: Reinstall the Game or Application Causing the Error
Sometimes the issue isn’t your system at all — it’s the application itself. If the game’s installer was interrupted, or the game was installed incorrectly, the DLL file it’s supposed to place in the game folder may simply not be there.
12. Go to Settings > Apps > Installed Apps.
13. Find the game or program, click the three-dot menu, and select Uninstall.
14. Once uninstalled, also delete any leftover folders in C:\Program Files or C:\Program Files (x86).
15. Reinstall the game fresh from the official source or the original disc/download.
If you’re using Steam, you can also try right-clicking the game in your library, going to Properties > Local Files, and clicking Verify integrity of game files. Steam will automatically re-download any missing or corrupted files.
Fix 4: Run the System File Checker (SFC) and DISM Tool
If system files on your Windows 11 installation have become corrupted — due to a failed update, a power cut during boot, or disk errors — the SFC and DISM tools can detect and repair them.
Step 1 — Run SFC:
16. Click the Start button and type “Command Prompt”.
17. Right-click it and choose Run as Administrator.
18. Type: sfc /scannow and press Enter.
19. Wait for the scan to complete. It may take 10–20 minutes.
20. Restart your PC once it’s done.
Step 2 — Run DISM (if SFC found errors):
21. Open Command Prompt as Administrator again.
22. Type: DISM /Online /Cleanup-Image /RestoreHealth and press Enter.
23. Let it finish, then restart and run SFC again to confirm the repairs.
Fix 5: Manually Copy the DLL File (Use With Caution)
You might find websites offering the d3dx9_43.dll file as a direct download. While this can technically work, you need to be very careful here. Only download DLL files from trusted, reputable sources — never from random forums or sketchy third-party sites. Malicious DLL files are a well-known method for distributing malware.
If you do choose this route, here’s how to place the file correctly:
- For 32-bit systems: Place the file in C:\Windows\System32
- For 64-bit systems: Place the file in both C:\Windows\System32 and C:\Windows\SysWOW64
After placing the file, you’ll need to register it. Open Command Prompt as Administrator and type: regsvr32 d3dx9_43.dll — then press Enter. You should see a message confirming success.
Again — this method should be a last resort. The DirectX installer from Microsoft (Fix 1) is safer, cleaner, and far more reliable.
Fix 6: Check Your Antivirus and Restore Quarantined Files
Sometimes antivirus programs — especially aggressive ones — mistakenly flag legitimate DLL files as threats and quarantine or delete them. If the error appeared after a recent antivirus scan, this could be the culprit.
24. Open your antivirus program and look for a “Quarantine” or “Threat History” section.
25. Look for any entry involving d3dx9_43.dll.
26. If you find it, select Restore and add an exception so it doesn’t get quarantined again.
27. Restart your PC and test.
Fix 7: Update Windows 11 and Your Graphics Drivers
Outdated system files or GPU drivers can sometimes prevent DirectX components from functioning properly. Keeping Windows and your drivers up to date is good practice regardless of any specific error.
Update Windows 11:
- 28. Go to Settings > Windows Update > Check for updates.
- 29. Install any pending updates and restart your PC.
Update your GPU drivers:
- For NVIDIA cards: Download the latest driver from NVIDIA’s official site.
- For AMD cards: Use the AMD Software: Adrenalin Edition tool.
- For Intel integrated graphics: Check the Intel Driver & Support Assistant.
What NOT to Do When Fixing This Error
A lot of misleading advice circulates online about DLL errors. Here are things you should avoid:
- Don’t download DLL files from unofficial websites — many are bundled with malware or spyware.
- Don’t use “DLL fixer” software you found in an ad — most of these are scams that do nothing useful (or worse, harm your system).
- Don’t copy DLL files from one PC to another — versions may differ and cause new problems.
- Don’t disable your antivirus permanently just to avoid this error — address the root cause instead.
How to Prevent This Error From Coming Back
- Once you’ve fixed the error, a few habits can help make sure it doesn’t come back:
- Keep Windows 11 updated — Microsoft sometimes patches DirectX-related issues through Windows Update.
- Don’t delete files you don’t recognize from system folders (C:\Windows\System32, etc.).
- When installing new games, let the installer finish completely without interruption.
- Use reputable antivirus software with proper game/software exceptions.
- Periodically run the DirectX Diagnostic Tool (type dxdiag in Run) to confirm DirectX is working correctly.
Frequently Asked Questions (FAQs)
Q1: Is the d3dx9_43.dll missing error dangerous or a virus?
No, the error itself is not a virus or anything harmful. It simply means a required library file is missing from your system. However, if you downloaded a DLL file from an unknown website and the error appeared shortly after, that downloaded file could potentially be malicious. Always get DLL fixes from official Microsoft sources.
Q2: Why does this error happen on Windows 11 but not Windows 10?
Windows 10 and Windows 11 both ship with DirectX 12, not DirectX 9. However, some Windows 10 installations still have older DirectX components from previous upgrades. Windows 11 fresh installs often lack these legacy files entirely, which is why the error tends to appear more on new Windows 11 setups.
Q3: Will reinstalling DirectX delete anything on my PC?
No. The DirectX End-User Runtime Web Installer from Microsoft only adds missing components — it doesn’t remove or overwrite existing files, games, or settings. It’s completely safe to run.
Q4: What if the error still appears after trying all the fixes?
If you’ve gone through all the fixes and the problem persists, try running a full Windows 11 repair install (also called an in-place upgrade). This reinstalls Windows without deleting your files or programs, and often resolves deep system file issues. You can do this using the Windows 11 installation media.
Q5: Can I get this error on both 32-bit and 64-bit Windows 11?
Windows 11 only runs on 64-bit hardware, so all Windows 11 users are on a 64-bit system. However, many older games are 32-bit applications, which means they look for the DLL file in the SysWOW64 folder. That’s why it’s important to install both the x64 and x86 versions of DirectX and Visual C++ packages.
Q6: Does this error affect all games or just older ones?
Mostly older games and applications built on DirectX 9. Games developed for DirectX 10, 11, or 12 won’t trigger this specific error. If you’re running a modern AAA title released in 2015 or later and seeing this message, it’s likely pointing to a corrupted installation rather than a missing DirectX 9 component.
Q7: Is there a quick one-step fix for this error?
Yes, for most users: download and run the Microsoft DirectX End-User Runtime Web Installer from the official Microsoft website, restart your PC, and you’re done. That single step fixes the error in the majority of cases.
Final Thoughts
The d3dx9_43.dll missing error on Windows 11 is genuinely one of those problems that looks more intimidating than it actually is. Most of the time, running Microsoft’s DirectX End-User Runtime installer takes care of it in under five minutes. The other fixes are there for edge cases — corrupted system files, bad antivirus quarantines, or failed game installations.
The key takeaway is this: always use official sources for your fix. Don’t download random DLL files from unknown websites, and don’t fall for sketchy “DLL repair” tools that are plastered across the internet. Stick to the steps outlined in this guide, work through them in order, and in almost every case you’ll have the issue resolved quickly and safely.
If you found this guide helpful, bookmark it for future reference — DirectX-related errors are common enough that you might encounter them again with a different DLL file. The same general principles apply.